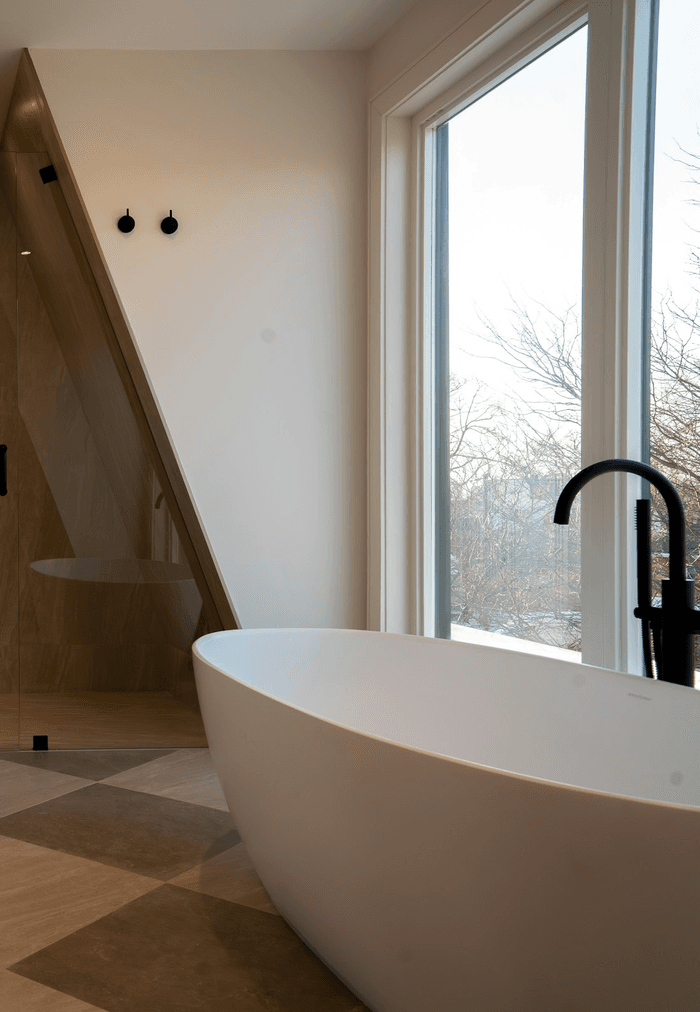
Custom Shower Installation in Waterloo
Plan the waterproofing, drain, curb, niche, tile layout, and glass line as one connected custom shower build.
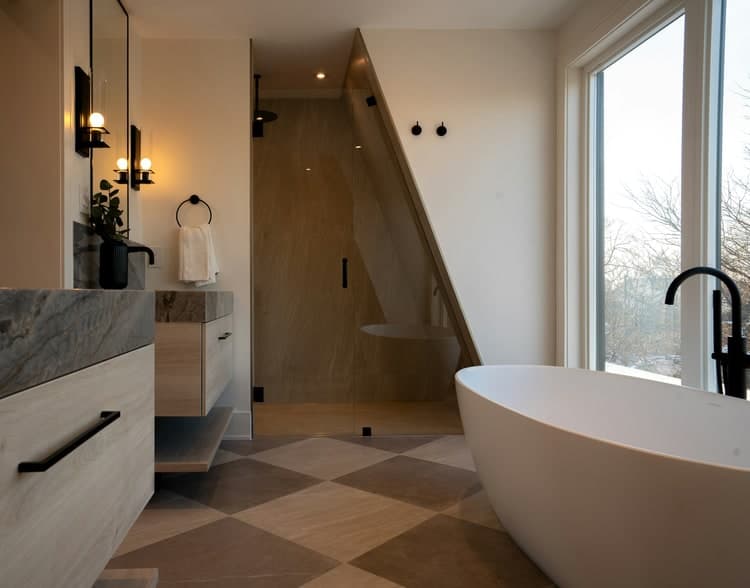


A custom shower is a small room with several systems sharing the same few square metres. The drain location affects slope. The curb or curbless entry affects floor height. The niche affects framing and tile cuts. The glass line affects where tile, trim, and waterproofing should finish. Treating those as separate decisions is how compromises appear late.
For a Waterloo project, Moonka starts by defining the complete shower envelope and the surrounding bathroom conditions. Photos, dimensions, tile format, the proposed drain, and any heated-floor plan are enough to make the first conversation specific without pretending a final scope can be set before the assembly is inspected.
Plan The Shower As One Connected Assembly
Tile is the visible layer, but it cannot correct a drain that sits in the wrong place, walls that were not prepared for the selected format, or an entry whose finished height was never resolved. The planning sequence should move from structure and water management to layout and finish details.
That is especially important when a Waterloo bathroom combines a curbless entry, large-format wall tile, a mosaic floor, a niche, or heat outside the shower. Each feature is manageable; the intersections between them deserve the attention.
Resolve Entry, Drain, And Glass Before Tile Layout
These are design decisions with installation consequences. The best option depends on the existing floor, available depth, shower size, tile choice, and the rest of the bathroom—not on a single trend.
Curb Or Curbless Entry
- Best when
- A curb is useful when the existing floor build-up needs a clear separation. A curbless entry can create a continuous floor when the structure and slope allow it.
- Plan for
- Finished floor height, waterproofing continuity, drainage, door sweep clearance, and the transition to heated or unheated bathroom tile.
Centre Or Linear Drain
- Best when
- A centre drain supports multi-directional slope. A linear drain can support a more directional plane when the shower geometry and selected tile suit it.
- Plan for
- Drain location, grate size, floor-tile format, cuts at the perimeter, plumbing access, and the exact finished elevation.
Niche, Bench, And Glass Line
- Best when
- Storage and seating should be placed around real use, framing, valve location, and the planned glass—not added after the wall layout is underway.
- Plan for
- Blocking, waterproofed corners, tile-module alignment, trim profiles, glass fasteners, and clearances around controls.
What The Pre-Tile Plan Needs To Show
The exact products are selected for the assembly, but the scope should clearly account for every change of plane and every opening through the wet area.
- A defined shower footprint with drain, curb or entry, glass, valve, niche, and bench locations
- A continuous waterproofing approach for the receptor, walls, corners, penetrations, and transitions
- Wall preparation appropriate to the tile size and intended grout-joint layout
- Slope and floor-tile planning that work together rather than being solved independently
- A finish plan for exposed tile edges, ceiling transitions, and the end of the glass line
- Coordination between shower waterproofing and any heated bathroom floor outside the wet area
 A defined shower footprint with drain, curb or entry, glass, valve, niche, and bench locations
How A Waterloo Project Moves From Scope To Finish
The exact duration depends on the verified conditions, materials, dependencies, and cure requirements. The sequence keeps those dependencies visible.
- 01
Define The Envelope
Review room photos, dimensions, existing fixture positions, entry preference, and the surfaces that are actually part of the shower scope.
- 02
Confirm The Assembly
After demolition or inspection exposes the conditions, confirm substrate work, drain and slope requirements, waterproofing, and floor-height implications.
- 03
Lock The Layout
Set reference lines for wall tile, floor tile, niche, bench, plumbing, trim, and glass so focal areas and unavoidable cuts are intentional.
- 04
Install And Protect
Complete the prepared assembly in sequence, respect cure windows, and leave the shower ready for the remaining fixtures or glass work in the agreed scope.
What To Send For A Useful Waterloo Scope Review
A clear first message does not need polished drawings. It needs enough visual and dimensional context to identify the important unknowns.
Send These Details
- Wide photos of the shower and the full bathroom
- Approximate shower width, depth, ceiling height, and bathroom floor area
- Whether the goal is a curb, curbless entry, bench, niche, or fixed glass panel
- Tile sizes and materials being considered for walls and the shower floor
- Whether plumbing, demolition, glass, or a heated bathroom floor is part of the wider project
Include the project city and the best way to reach you. Moonka can then identify likely preparation questions, missing selections, trade dependencies, and whether the project fits the service schedule.
Start A Project ConversationQuestions About Custom shower installation in Waterloo
Can you quote a Waterloo custom shower from photos?
Photos and dimensions are useful for a first scope conversation and for spotting major planning questions. A final installation scope may still depend on what is behind the existing finishes, the drain and floor structure, and the selected materials.
Can a Waterloo shower be made curbless?
Sometimes, but it should be treated as an assembly question rather than a style choice. Available floor depth, structure, drainage, slope, doorway conditions, and the adjacent bathroom floor all need to be reviewed first.
When should shower glass be measured?
Final glass measurements are normally based on finished tiled surfaces. The glass type and intended line should still be discussed earlier so tile, trim, blocking, and waterproofing terminate in the right places.
Can heated tile run up to the shower?
A heated bathroom floor can be coordinated with the shower entry, but the heating layout, waterproofing transition, sensor, floor build-up, and electrical scope need to be planned before tile installation.