Kitchen Backsplash Installation in Waterloo
Resolve cabinet lines, counter variation, outlets, exposed ends, grout, and feature areas before the first backsplash tile is set.
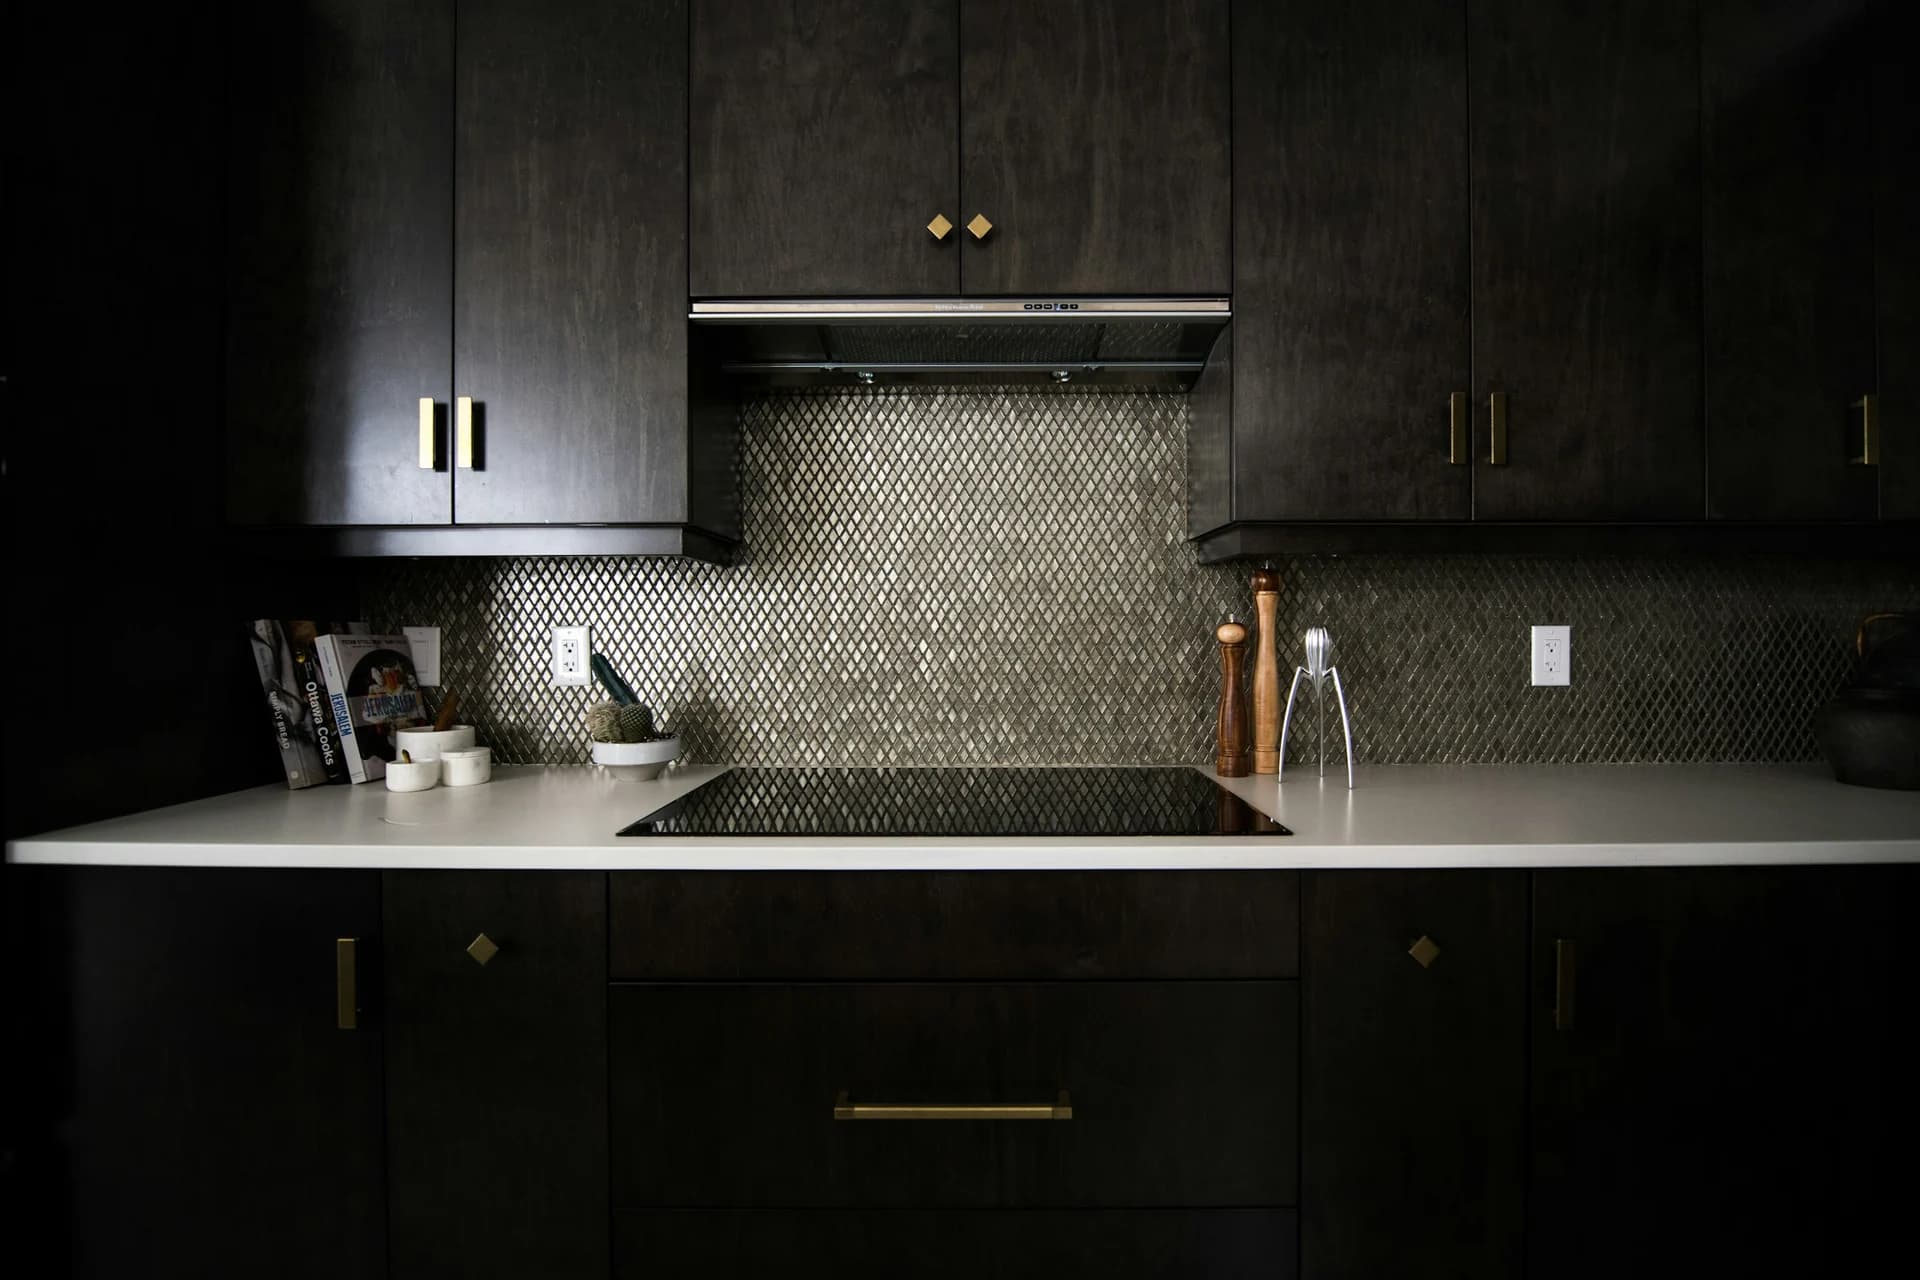


A kitchen backsplash looks like a narrow strip of tile, but the layout is controlled by several imperfect reference lines: the counter, upper cabinets, windows, outlets, range, hood, open ends, and any change in wall height. The installation reads as clean when those lines are measured and prioritized before tile is cut.
Moonka's Waterloo backsplash process begins after the fixed kitchen elements are understood. It turns cabinet and counter geometry into a layout plan, then resolves pattern starts, exposed edges, outlet cuts, grout, sealant, and protection for the finished kitchen.
Use The Finished Kitchen As The Template
Nominal cabinet dimensions are not enough for final tile layout. Small variations in counter level, wall straightness, cabinet height, and outlet position can accumulate across a run. Measuring the installed conditions makes it possible to decide which joints should align and where a cut is least distracting.
For a Waterloo kitchen, the first visit or photo review should also identify whether the backsplash is standard height, full height, or concentrated around a range or sink. Those scopes have different material quantities, edge details, and focal lines.
Choose The Backsplash Extent Before The Pattern
Coverage determines the layout canvas. Agree on every stop and return before selecting a starting point or estimating quantities.
Counter To Upper Cabinets
- Best when
- The kitchen has a consistent run of counters and uppers and needs a practical, contained backsplash zone.
- Plan for
- Counter variation, bottom cabinet line, outlet cuts, inside corners, window returns, and open-end termination.
Full-Height Tile
- Best when
- Tile continues to the ceiling or wraps an open wall as a stronger architectural finish.
- Plan for
- Additional wall preparation, ceiling line, cabinet and hood clearances, exposed edges, material quantity, and high-level focal alignment.
Range Or Sink Feature
- Best when
- A framed pattern, slab-look field, mosaic, or change in orientation is intentionally limited to a focal area.
- Plan for
- Exact feature boundaries, centring on fixtures, pattern repeat, border thickness, transitions, and how nearby outlets enter the composition.
Measurements That Control A Clean Backsplash
A useful layout sketch records the real wall, not an ideal rectangle. It should show fixed obstacles and the order in which reference lines take priority.
- Counter lengths, returns, upstands, window openings, and the underside of upper cabinets
- Range, hood, faucet, sink, and other focal centre lines
- Every outlet, switch, data plate, and under-cabinet connection that intersects tile
- Open ends, outside corners, cabinet gaps, side splashes, and where tile meets painted wall
- Tile module including intended grout joint, orientation, repeat, and variation within the selected boxes
- Edge profile, corner treatment, flexible sealant locations, grout colour, and protection for counters and cabinets
 Counter lengths, returns, upstands, window openings, and the underside of upper cabinets
How A Waterloo Project Moves From Scope To Finish
The exact duration depends on the verified conditions, materials, dependencies, and cure requirements. The sequence keeps those dependencies visible.
- 01
Confirm Kitchen Readiness
Verify that cabinets, counters, and the elements controlling the backsplash geometry are installed and stable enough for final measurement.
- 02
Map The Wall
Record all runs, elevations, outlets, focal lines, exposed ends, returns, and coverage changes before assigning a tile starting point.
- 03
Approve The Layout
Review orientation, feature placement, cut hierarchy, edge profiles, grout, and any unavoidable compromises in the real geometry.
- 04
Protect, Set, And Finish
Protect the kitchen, prepare the wall, install to the reference plan, finish joints and edges, then communicate cure and cleaning guidance.
What To Send For A Useful Waterloo Scope Review
A clear first message does not need polished drawings. It needs enough visual and dimensional context to identify the important unknowns.
Send These Details
- Straight-on photos of every backsplash wall and a wider photo of the full kitchen
- Approximate counter lengths plus the height from counter to upper cabinets
- Tile product, size, orientation, pattern, grout idea, and whether materials are already purchased
- Whether tile is standard height, full height, or used as a range or sink feature
- Photos of outlets, windows, exposed ends, returns, hood details, and any surface damage
Include the project city and the best way to reach you. Moonka can then identify likely preparation questions, missing selections, trade dependencies, and whether the project fits the service schedule.
Start A Project ConversationQuestions About Kitchen backsplash installation in Waterloo
Should counters be installed before a Waterloo backsplash?
Final counter installation normally provides the actual lower reference and finished dimensions the tile must meet. Cabinet and counter work should be stable before final measuring and backsplash layout unless a different sequence is explicitly designed.
Where should a backsplash tile pattern start?
The starting point depends on the tile module, focal areas, open ends, inside corners, outlets, and which cuts will be most visible. It should be selected from the complete wall layout rather than automatically starting at one end.
Can outlets be centred in the tile layout?
Sometimes, but outlet positions are fixed by the electrical work and may compete with cabinet or focal centre lines. The layout can often reduce awkward cuts, but it should not promise perfect centring at every device.
How much extra backsplash tile should I order?
The allowance depends on layout, pattern, breakage risk, tile variation, returnability, and the number of cuts. Quantities should be based on measured coverage plus a project-specific waste allowance, not a universal percentage.